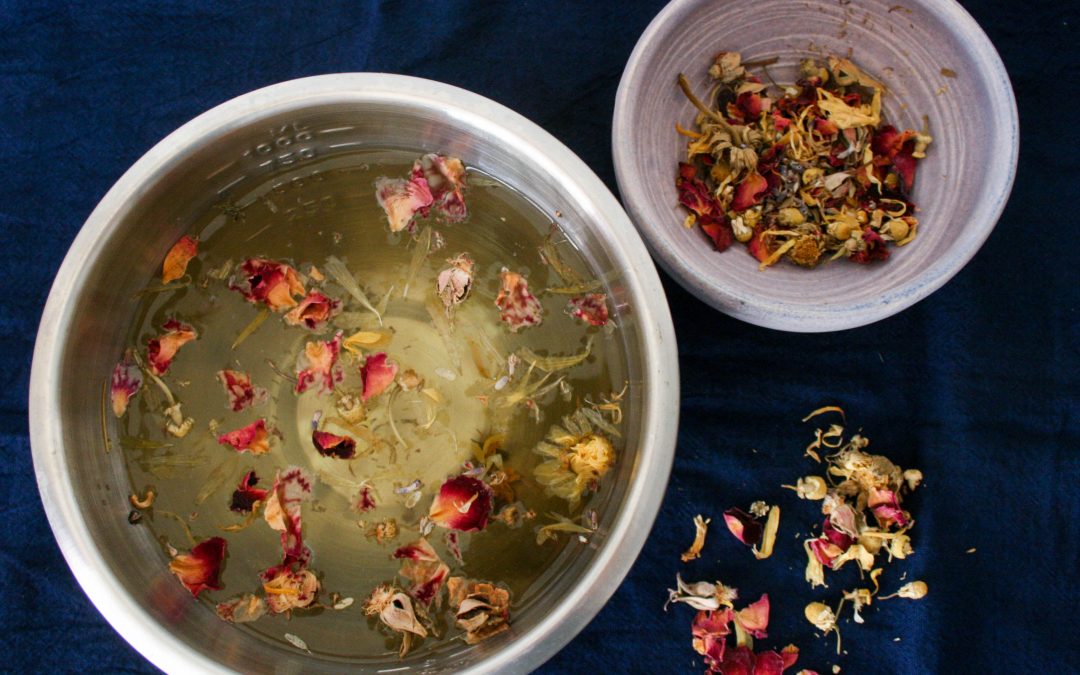
As a kid, summer meant never not being in a pool (AZ life, hollaaa) but at the end of a carefree day, I would come home with patches of itchy, dry skin. This summer has been reminiscent of my childhood; traveling, being outside all day, nothing to worry about except which type of ice cream to devour for dessert. But spending so much time in the elements has returned my skin to that scaly fishchild state. One of the first things I did when I got home from vacationing was whip up a batch of this body butter/lotion, et voila, my skin was renewed!
This homemade body butter soothes virtually every skin irritation issue; dry skin disappears, rashes and bites are calmed and it also heals and prevents scarring, which is wonderful for my darker, scar-prone skin. This would also be great for preventing stretch marks and healing burns.It’s thick and luxurious due to the incredible healing properties in these rich ingredients. Not to mention it smells like chocolate frosting (no, it doesn’t taste like frosting..not that I’ve tried it or anything…*looks away*).
If greasy lotion bothers you, just make sure to slather it just before you go to bed to give your skin plenty of time to soak it up.
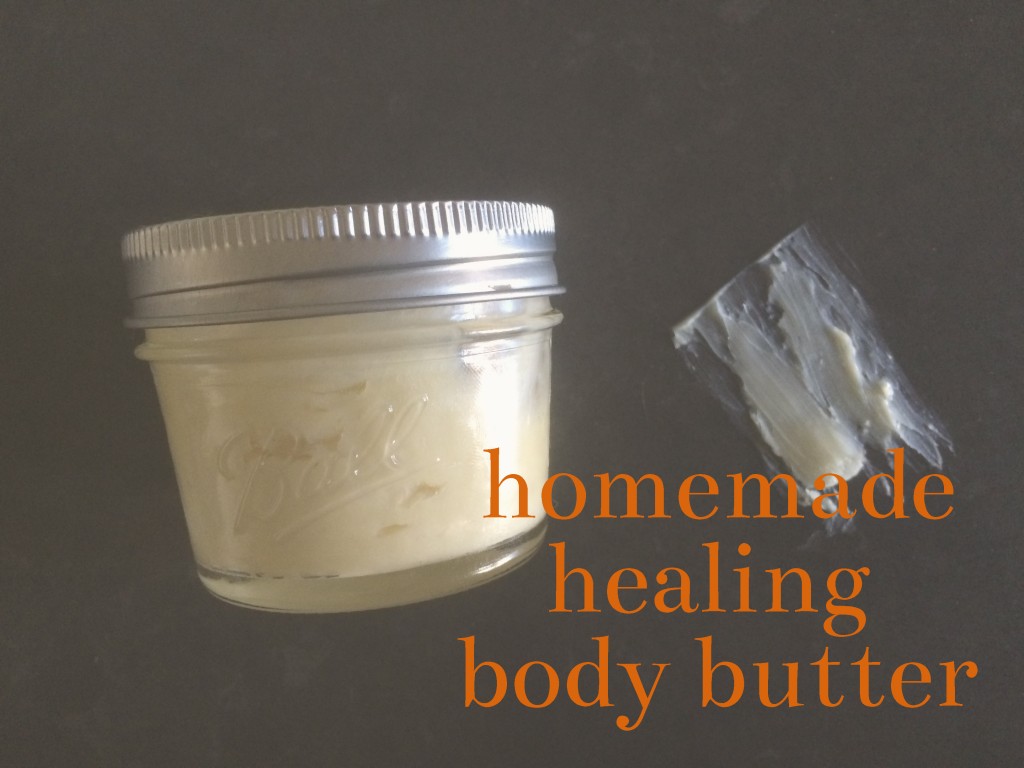
Healing Body Butter Recipe
To get the most out of any homemade products, make sure to purchase raw ingredients that are responsibly-sourced and organic. I purchase mine from Mountain Rose Herbs, Lassen’s (LA area), or Whole Foods.
1/4 cup Shea butter (improves elasticity, collagen production, intense moisture, anti-inflammatory)
1/4 cup coconut oil (healthy fatty acids, rich in vitamins K, E and iron, anti-bacterial/anti-viral)
1/4 cup cocoa butter (antioxidants, rich in vitamin E, caffeine said to help firming/reduce cellulite)
1/4 cup jojoba or sweet almond oil
10-15 drops of essential oils of your choice (I prefer rose or neroli)
Hand mixer (optional)
Combine the first four ingredients in a sterilized glass bowl and melt using a double boiler. Once melted, let the bowl cool down then place in fridge until the ingredients solidify (about 45 min-1 hr).
Optional, yet highly recommended: use a blender to whip ingredients for about 5-8 minutes, until a frosting-like consistency is achieved.
Mix in essential oils of your choice, if desired. When you choose your oils, keep in mind that there will be a strong chocolatey smell from the cocoa butter, so they should pair well with that. Slather this on after exfoliating/dry brushing and feel like a queen. Store in an airtight glass jar, like a small mason jar. Use within 1 month. Enjoy! You’ll definitely be feeling yourself.
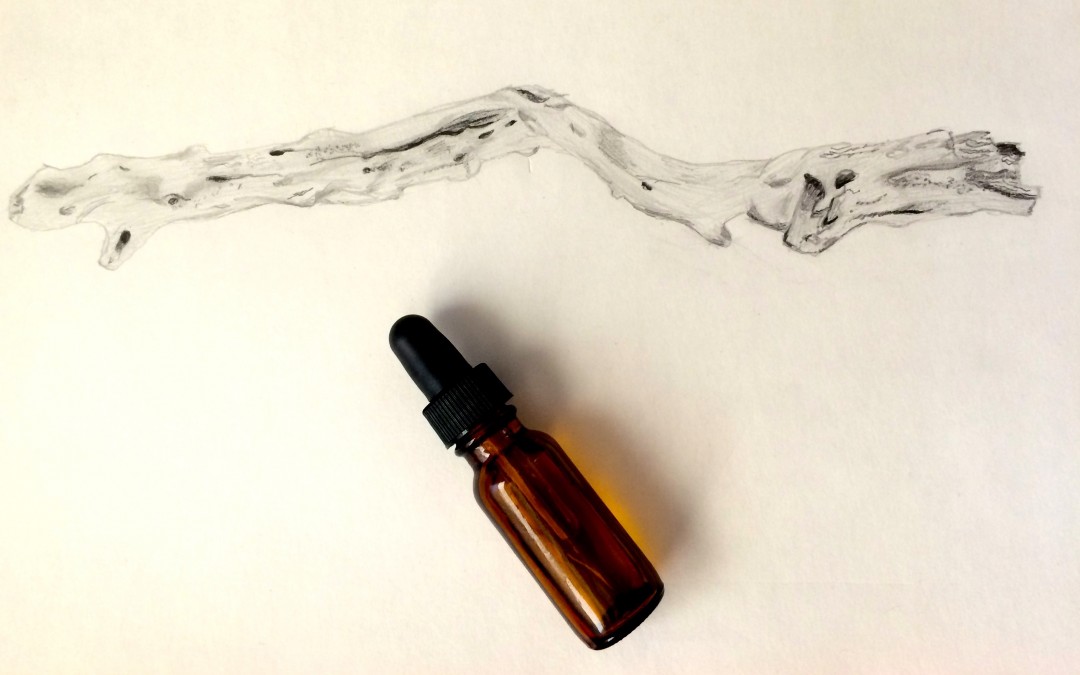
In the spirit of spring cleaning, I’ve been purging and simplifying all aspects of my life. Clearing out the unnecessary really does clear the mind (can you tell I’ve been doing a ton of Yoga? Hehe). While I love luxurious, rich products, lately, my skin has been asking for minimalist products, and to just let it be. Trying to be more in tune with what it needs, I’ve been using my own blend of oils for cleansing and makeup remover and my skin has responded really well. I thought I’d share this since it’s easy to make and super inexpensive.
Here’s my no makeup selfie, post oil cleansing. See, dewy, happy skin!

I’ve chosen these three oils because they give skin a balanced ratio of oleic (moisturizing) and linoleic (great for cleansing and preventing blemishes) fatty acids, and would work well for normal to dry skin types. If your skin is acne prone, I would suggest reducing the amount of coconut oil and doubling the amount of grapeseed oil since it’s higher in linoleic acid, the type of acid that acne prone skin lacks. This is just a base formula, so feel free to play around with the ratio of oils. And since I also use this as my makeup remover, the only essential oil I’ve included is lavender that will not irritate the delicate eye area.
Basic Oil Cleanser Ingredients:
1 tsp coconut oil
1 tsp grapeseed oil
1 tsp sweet almond oil
optional: 3-4 drops lavender essential oil
Add oils to a small glass jar then stir or gently shake to blend (I use these amber dropper bottles from the Container Store). Add 3-4 drops of lavender, if desired.
To use, apply a few drops to dry skin. Massage away dirt and makeup for 30-60 seconds (I like to add a few drops of water to emulsify), then wipe away with a gentle microfiber cloth or my favorite, this cute lil’ konjac sponge. Follow up with a toner and/or moisturizer.
I hope this inspires you to simplify in some way!
It just kills me when I have to spend money on gas, laundry, or deodorant. And while I did find an effective natural deodorant, Soapwalla, (read about this and the danger of most deos here) it’s $14 bucks a pop and I’ve been trying to balance my beauty splurges by committing to D.I.Y. one beauty product for each expensive product I buy.
I ran out of my trusty Soapwalla and after a few days bare-pitting it and some gentle encouragement from my dear fiancee to perhaps set a higher standard of personal hygiene for myself, I finally broke down and gave homemade deodorant a shot, not really expecting it to be all that effective.
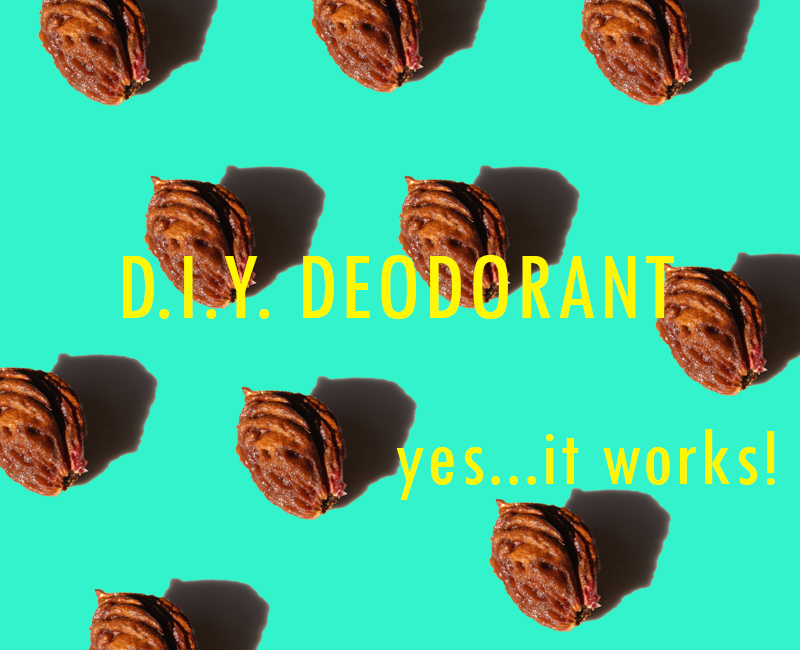
I put this formula to the test with a hike and a few yoga classes and holy kerschmolies, it works! And not in a funny Portlandia way. Really.
Also, this is SO cheap to make and smells like coconut-orange frosting. So here are the tools you need to get into the homemade deodorant game:
Shea-Coconut Deodorant
1 tbsp Shea butter
1/2 tbsp coconut oil
1 tbsp arrowroot powder
1-2 tbsp baking soda
2-3 drops tea tree oil
5-10 drops of essential oils of your choice (I used 3 drops peppermint and 5 drops bergamot)
1 sanitized small glass jar that you’ll use to store the deodorant
1. Add Shea butter to glass jar and heat until softened (I microwaved for 20 seconds – feel free to use a double boiler; I was too lazy to do this when I made it)
2. Add all ingredients except for essential oils and stir, making sure the powder and baking soda are mixed thoroughly. Add more baking soda, if desired (I prefer a thicker paste consistency)
3. Gradually stir in essential oils to achieve the desired strength of scent
Your homemade deo is now ready to keep your pits company! The tea tree oil and coconut oil act as natural preservatives but make sure to use within 2 weeks so the deodorant stays fresh and effective.